Showing posts with label The Savvy Seamstress. Show all posts

Monday, April 23, 2018

Collars, Facings, Necklines and a Blog Tour

The days of having a four-year-old in the studio to model for me are long gone (she's in secondary school now!), so I had to make do with a clothes line.  Still, these little blouses swinging in the breeze looked sweet and made me happy today.


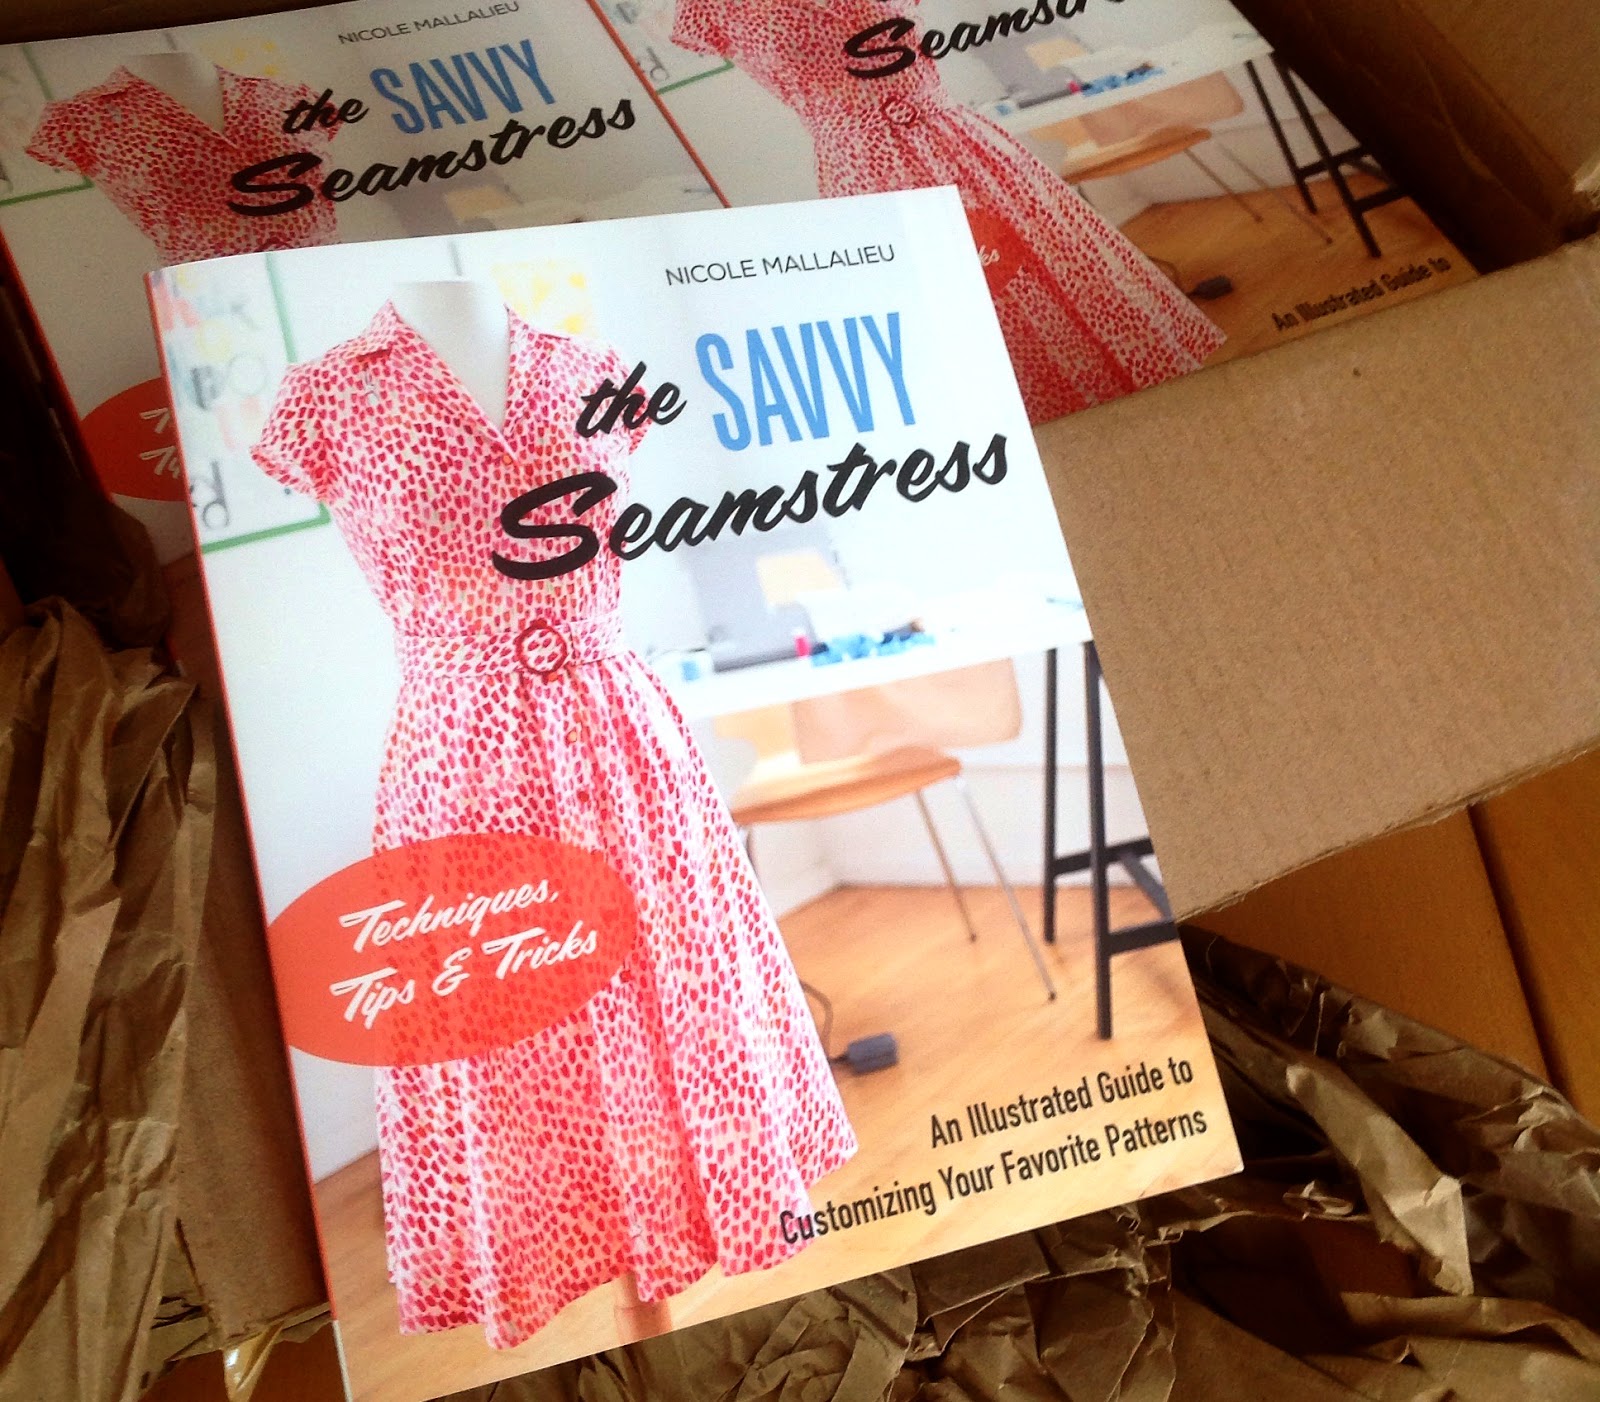
They're all made from the same base pattern, with the collar, necklines, sleeves and facings altered to vary the design. You guessed it... using the patternmaking and sewing techniques from my book The Savvy Seamstress.


We launched the book at Can Do Books in December, but until recently, I haven't had much time or brain-space to to promote the it (you might have followed my "why" on Instagram ).  However, now I'm all about the BLOG AND INSTAGRAM TOUR.

You can see what other people have made and sneak a few more glimpses inside the book if you follow along. There will also be givaways, so you might like to hop on board.

The tour schedule is as follows:

And now, a closer look at those little blouses...

This is a simple little button-fronted number with cap sleeves and a round neckline. It has a full neckline facing that also covers the button area. (The book will also show you how to make this design detail on a pattern that originally had a zippered back and no front opening, or on one that previously had a collar.)

An easy alteration from here is to change the shape of the neckline (and maybe the arrangement of the buttons into 3 sets of 2...?).


Alternatively, you can add a Peter Pan Collar. This one has a simple binding on the neckline and a folded facing.


Or you can raise the neckline and add a collar. This one (below) has a higher neckline and a slightly higher "roll" on the collar. It also has cute little 3/4 sleeves (..ahem... because of a "design opportunity" that arose when I cut two sleeves in the same direction from the small amount of fabric that I had, and then arrived at my local fabric store half an hour after the last on the bolt was sold... and I had a deadline.... Aargh...).

And it has cuffs on the sleeves. Aren't they cute in a kids' size 5?


And just like this one, it has a Convertible Collar style finish (with a neckline facing on the garment front).


(But this one has full length sleeves.)

The same kinds of alterations can be made on dresses, shirts and blouses, and all these patternmaking and sewing techniques are included in the book.  

Please note that this blouse pattern is one that I use in classes and is not yet developed for sale. There was a plan to have this done before the book was launched, but life and its curve-balls got in the way.... It's on the to-do list!  

So - watch this space, and watch the blog and instagram tour. There'll be more Savvy Seamstress news and opportunities to win yourself a copy.


Monday, November 27, 2017

The Savvy Seamstress - It's a real book!


This box of books arrived a couple of weeks ago. A slight glitch behind the scenes means that it's taken this long to post about it here. But here is The Savvy Seamstress.


As I've mentioned before, the concept behind the book is that once you have a pattern for a garment, you can keep changing design features on it to make it into many different garments.


For example, a casual short sleeved shirt (or pyjama top) can become a classic long-sleeved shirt with cuffs, collar stand and button placket. These are teeny little boy's shirts, but the same could be done for mens' or womens' garments.


It's the way I make most of the clothes that get made around here - for myself and for my girl - and the same processes can be used for tweaking designs from basic blocks/slopers.


I've already used my book a few times to help explain things to my Fashion students... which is how I originally came up with the idea of writing it.


All the processes are broken down into baby-steps, with cheat's methods for getting a better finish. It's not about couture - more of a blend of industrial fashion production sewing and handmade techniques, which is how I sew when I'm sewing for myself.


I've included simple processes to get beginners started - pockets and closures - but I've included a few more advanced methods, like draping new necklines and making classic shirt collars.There are lots of diagrams and photos to help you through...


It's a strange thing to write a book... to work so closely on a document that you can no longer actually 'see' it. Trying to turn off my critical eye is a tricky thing. But I'm the author and that's what authors do. You are the audience, and I hope that you like it and find it useful. 

Go forth and tweak those patterns. Make beautiful garments!

BTW - my critical eye spotted a little mistake (which makes me feel a bit sick...).
Page 45, Step 1: inside brackets should read "or fuse a strip of interfacing" instead of "sew stay tape". Not a big one, but still... that critical eye. I'm sorry that this slipped through the multiple edits and checks that were made in the making of this book. We did our very best.


Tuesday, September 5, 2017

The Savvy Seamstress - What's it All About?

I'm reposting from the C&T Publishing blog (with their permission), an excerpt from my book,  The Savvy Seamstress: An Illustrated Guide to Customizing Your Favorite Patterns. I've included some of the photos and added some annotations to to help explain a little more about how it all works.


“I’ve always been a garment maker. I was a child who made doll clothes, a teenager who was obsessed with sewing my own clothes, a fashion student, a designer pattern maker, and then a pattern designer and teacher. I still make most of my own wardrobe, often using the same small selection of basic patterns that I adapt with different fabrics and design details. I’m lucky to have a strong background in pattern making and sewing, but, as a teacher, I know that even relative beginners can learn to make the most of their pattern stash this way.

When I began teaching at a fashion college, most of the pattern-making and industrial sewing resources I found were pitched at a higher skill level than my students had. I had to break down the processes into small, achievable steps so my students could make the garments they designed. It occurred to me that the average home dressmaker could benefit from the same information.

By learning how to make a few key design alterations, you can keep transforming your favorite patterns— adding or removing collars and pockets, changing neckline shapes, and swapping a zippered back for a button front, a waistband for a facing, or vice versa. The variations are endless. I hope that this book gives you the inspiration and the confidence to try some of these changes, and that you are amazed by what you can achieve.”


The skirt started out in life with a waistband, and now it has a lowered waist with a facing. The same could be done to the pants in the photo at the top. Zippers can be swapped from back to front to side, and invisible zippers and lapped zippers can be used interchangeably. The pants could have a fly front.


These little blouses (above and below) are made from the same pattern. Apart from being on different sized kids, they look different because the design features have been changed. The one above has short sleeves, a lowered neckline and a rounded Peter Pan collar, and the one below has a higher neckline with a pointed collar, and long sleeves, gathered into a cuff. There was also a collarless version.

By adding a skirt, the little blouse could become a dress... and the front buttons could be swapped for a zipped back... 


...which is what happened with a heap of tween/teen dresses. Necklines were changed. Collars and pockets were added and removed. Zippered backs became buttoned fronts, and vice-versa. The one dress became many.


Mens' and boys' shirts were also tweaked with different collars, cuffs, pockets and sleeve lengths.


Classic styling can become casual, and even pajama styling... all from the one pattern.


The book itself does not contain the patterns, because it's about learning basic techniques to tweak the patterns that you love and want to expand upon. 

I had great plans to get the patterns for these garments all finished and ready to accompany the book, when it is released in November, but (insert one-woman-show-work-life-balance-(with-curveballs) story here..), that development has been slow. 

I'm currently working on instructions for the pants, which are graded from size 6-20. If you'd like to test the instructions and fit for me, I'll have them (to use for free) at my next class at Cutting Cloth, on the 18th Sept.

I also have skinny pants in size 8, a large men's shirt, a size 10 girl's dress and size 5 in the blouse and classic (boys') shirt. These have not been graded, but if you would like to make them IN THESE SIZES and with my guidance rather than written instructions, you can do so at my classes at Cutting Cloth over the next few months.