
My relationship with leather hasn't changed since then. I'm a textiles gal at heart, but sometimes I think something will look good made in leather... so I make it.
It's a quirky, tricksy material to wrangle - and completely unforgiving if you make a mistake. I'm not a fan. However, I'm often asked for tips to make the job easier, so here goes...
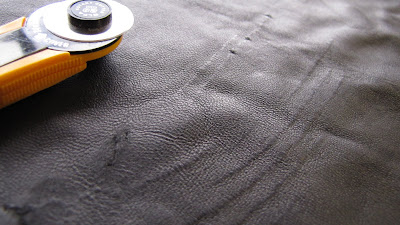 1. Before you mark out your pattern placement, examine the hide and look out for scars, holes and imperfections.
You have to remember that these hides were once on animals - walking around in fields (or barbed-wire-fenced paddocks, if you're in Australia) and scars are are random feature. You don't want to cut out a pattern piece, only to have a hole or other imperfection spoil it (and have no hide left to re-cut).
 2. You can't pin leather, so (unless you have a clicking press and press-knives), cardboard patterns and pattern-weights are the way to go. Trace around the patterns with with a special silver pen (or ... ummm.... a plain ballpoint pen or rotary cutter, if you're as completely reckless as I am).
NOTE: Garment weight leather can usually be cut easily with a sharp rotary cutter or scissors. Some people use a stanley knife and steel ruler (but I've nearly lost fingers doing that, so I can't recommend it).

 4. You can purchase special "leather" sewing machine needles, which will penetrate the leather more efficiently than normal machine needles and form a nice even stitch. Well worth it.
6. Interfacing can be fused to leather if you need to add a bit of structure - use a rajah cloth to protect your iron and the leather. Cut the interfacing shorter than the seam allowances to reduce bulk.
7. Pressing seams open can be a bit tricky - garment leather generally doesn't hold a sharp crease well. Use double-sided tape to hold seams flat. (Although, try not to overdo the tape on areas that will later be stitched - it can gunk up your needle).
 I prefer to flat stitch seams open from the right side of fabric.
 ..and then trim away the excess seam allowance to reduce as much bulk as possible.


10. I'd like to make a 10th tip, just to be neat and decimal about things.... but I'll leave this one open as a question.... Do YOU have any leatherworking tips or questions to add to these?
...So anyway, what was all this leather-sewing business about...?


 It's a variation on the theme of my Laptop computer sleeve tutorial (on Whip Up and
  There's a divider (stiffened with
