
HOW TO MAKE SUPER-QUICK BUTTON LOOPS....
1. Following the instructions in the 6mm "Clover" Bias Tape Maker packet (or this tutorial), make a length of tape - BUT YOU CAN CUT IT ON THE STRAIGHT GRAIN IF YOU WANT TO MAKE IT EASIER TO SEW!!!
2. Fold the tape in half lengthwise and press it again, keeping all the raw edges of fabric on the inside.
 3. Stitch the two folded edges together (or zigzag over the full width of the folded fabric if you are uncertain of your ability to sew accurately on narrow things).
 4. Measure a loop to go around the button of your choice and add extra for the seam allowance at both ends. Trim away the excess.
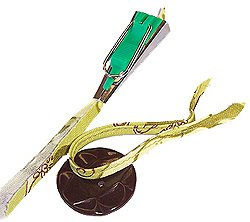
5. Attach the loop (UPSIDE-DOWN, to the RIGHT SIDE of the top CENTRE-BACK edge of your bag) with a few stay-stitches.
6. Attach your facing/lining in the usual way, and sew a button at CENTRE-FRONT.
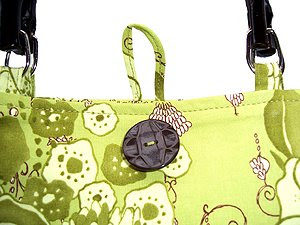 Voila! Matching button loop in minutes... and no burned fingers!!
 You can also use the larger sized bias tape makers for larger button loops. Below is the inside of the (WIP) Carry-All bag, and a larger loop is on the notebook computer compartment pocket.
PS. The finer points of making a button loop closure can be found in these pattern instructions....
4 comments:
Thanks for the how-to! I will definitely be using this one.
Hi Nikki,
I'm getting out my bias maker had one sitting in the drawer and never used it, great instructions all through your blog, I will be a regular.
Mandy
So many great tutorials on this blog. i' a graphic designer who failed sewing at school, but now I want to start making bags etc. This blog is so helpful. Thanks!
What a great tutorial! You are a legend!
Post a Comment